
What prevents cable tray and conduit rework?
Resolve routes, interfaces and installation details before fixing containment. Use coordinated drawings, the specified system's manufacturer instructions and the project's approved design. Confirm access, supports, penetrations and inspection points. Record changes as they happen so installation teams do not repeat an obsolete detail across multiple areas. For projects in Dubai, Sharjah and elsewhere in the UAE, apply the requirements relevant to the specific building and authority.
Understand the purpose of containment
Cable trays and conduits form part of a planned electrical installation, with requirements that depend on the system and location. They are not interchangeable simply because both can carry wiring. The responsible designer specifies the arrangement, while the installer follows the approved details and relevant product guidance. Procurement should match that basis. A substitution that looks similar may have different accessories or installation requirements, so proposed changes should be reviewed before materials reach the work front.
Use a coordinated route drawing
A route that works on an electrical drawing may conflict with a duct, pipe, beam or access panel. Review the combined services layout and resolve significant interfaces before installation. Check elevations as well as plan positions. Identify where routes enter rooms, cross building elements or pass through crowded ceiling areas. If coordination is incomplete, record the affected zone as unresolved rather than allowing each trade to install independently and negotiate the collision later.
Check supports as part of the system
Support arrangements need to follow the applicable design and product requirements. Do not choose spacing or fixing details from an unrelated photograph or a generic rule found online. The material, loading, structure and environment matter. Confirm the approved support detail and the party responsible for any associated structural review. Make sure the quotation includes the specified supports and accessories. A tender comparison that counts only straight tray sections can miss a substantial part of the actual installation.
Keep maintenance access visible
Containment may fit physically while making another service difficult to inspect or maintain. Review access to valves, dampers, equipment and ceiling openings with the relevant trades. Consider how cables will be installed and maintained along the route, not only how the empty tray will be fixed. Agree access zones through coordination. Where a conflict remains, refer it to the responsible design team instead of treating the first installed service as automatically entitled to the space.
Resolve penetrations before work begins
Identify the building elements through which routes pass and establish the approved penetration details. Coordinate opening responsibility, permitted locations and the required reinstatement or sealing system. Do not assume the electrical installer owns every associated builder's work item. Track these interfaces in the scope schedule. Penetrations through rated construction require particular project coordination; the appropriate specialist and design requirements should govern the detail. Avoid improvising a solution after finishes or fire protection work are complete.
Inspect an initial representative area
Where the programme allows, agree a representative first installation for review before repeating the detail. Use it to check route interpretation, support arrangement, workmanship and interfaces. Record the agreed outcome and circulate it to the installation teams. This is especially useful when several crews work in different areas. It does not replace required inspections, but it can expose a misunderstanding early enough to avoid repeating it across an entire floor.
Protect installed containment and materials
Plan storage and handling so materials remain suitable for use. Follow the relevant manufacturer's guidance for the selected system, including compatible components and treatment of installation details. Report damage or unsuitable deliveries before installation. Keep work areas orderly and coordinate protection where other trades continue nearby. A completed route may need further inspection if later activities damage or alter it. Progress records should therefore distinguish installation completion from final acceptance.
Update drawings while changes are visible
When a route changes, record the location and reason promptly. Identify whether the change has been accepted by the responsible party and whether it affects other systems. Photographs can support the record, but they do not replace clear location references and updated drawings. Waiting until handover to reconstruct concealed routes creates avoidable uncertainty. Give one person responsibility for keeping the installation record current and making sure the site team receives the latest approved information.
Use a route-release checklist
Before releasing an area to installation, ask the coordinator to confirm the drawing revision, route location, relevant support detail and unresolved interfaces. Confirm that associated openings and work areas will be available. Identify the first inspection point and the records needed before concealment. This checklist need not be elaborate; it should make the release decision explicit and repeatable across the project.
For a hypothetical congested corridor, the team might discover that a proposed route blocks access to another service. The correct next step is coordinated review, followed by an updated detail and communication to the affected trades. Simply moving the tray at the work front can transfer the conflict elsewhere. Record the final decision so crews working on adjacent corridors do not repeat the original problem.
After installation, check that the recorded route matches what was actually built. Capture useful photographs with clear location references before ceilings close. Link these to the drawing register and inspection status. If the route is later altered, update the record rather than keeping contradictory photographs without explanation. The purpose is a reliable installation history that supports handover and future maintenance. It also gives the main contractor better evidence when reviewing whether an area is ready for the next construction activity.
Give crews a clear installation brief
Before opening a new area, confirm that the crew has the correct drawings and understands the accepted detail. Identify local interfaces and the point at which inspection is required. Explain how a clash or unexpected condition should be reported. Do not rely on a general instruction to follow the previous floor when the layout differs. A short area briefing helps prevent repetition of an outdated solution. Record significant clarifications and make them available to other crews. The same information should reach the coordinator, supervisor and document controller so the installation and its records remain aligned throughout the project.
Prepare a containment enquiry for Fixpoint
Provide coordinated drawings, specifications, quantities and details of the proposed containment systems. Identify installation heights, access constraints and responsibilities for openings, supports and associated works. Share the programme by zone and any areas awaiting design decisions. Ask Fixpoint to state exclusions and assumptions rather than treating all routes as equally straightforward. A well-defined containment package supports clearer pricing and reduces the chance that coordination problems become installation rework.
Does cable tray installation include cable pulling and termination?
A cable tray or conduit package does not automatically include cable pulling, glanding or termination. These are separate activities that may be assigned to different teams. State the boundary explicitly when requesting electrical subcontractor quotations in Dubai or Sharjah, and connect the containment release to the cable installation programme.
For cable pulling, identify the cable schedule, start and end points, route availability, material supply and access responsibilities. Ask who provides the agreed handling equipment, who controls drum storage, and who records installed cable identification. The responsible professionals should define the installation method and product requirements. A quantity of tray alone cannot establish the labour or equipment needed for the cabling stage.
For glanding and termination, identify the equipment at each end and who supplies the specified glands, lugs, labels and accessories. Confirm the interface with the panel or equipment supplier and the records required before the next inspection. Keep testing responsibilities explicit: the team that installs the containment may not be the team appointed to test the completed circuit.
Use a short interface schedule for each route: containment accepted, cable installation released, terminations ready for inspection, and required test records complete. Assign an owner to each milestone. This gives the main contractor a practical way to coordinate separate packages without confusing a finished route with a complete electrical circuit.
Related reading
Warehouse Electrical Installation Planning https://fixpoint.ae/en/blog/warehouse-electrical-installation-uae
Electrical Snagging and Handover Checklist https://fixpoint.ae/en/blog/electrical-snagging-handover-checklist
Reference
Reference guidance https://assets.legrand.com/webf/uk/UK_EN_Installation_guide_Cablofil_Guide_2024.pdf Confirm project-specific requirements with the responsible professionals.
Request an electrical quotation https://fixpoint.ae/en/get-a-quote
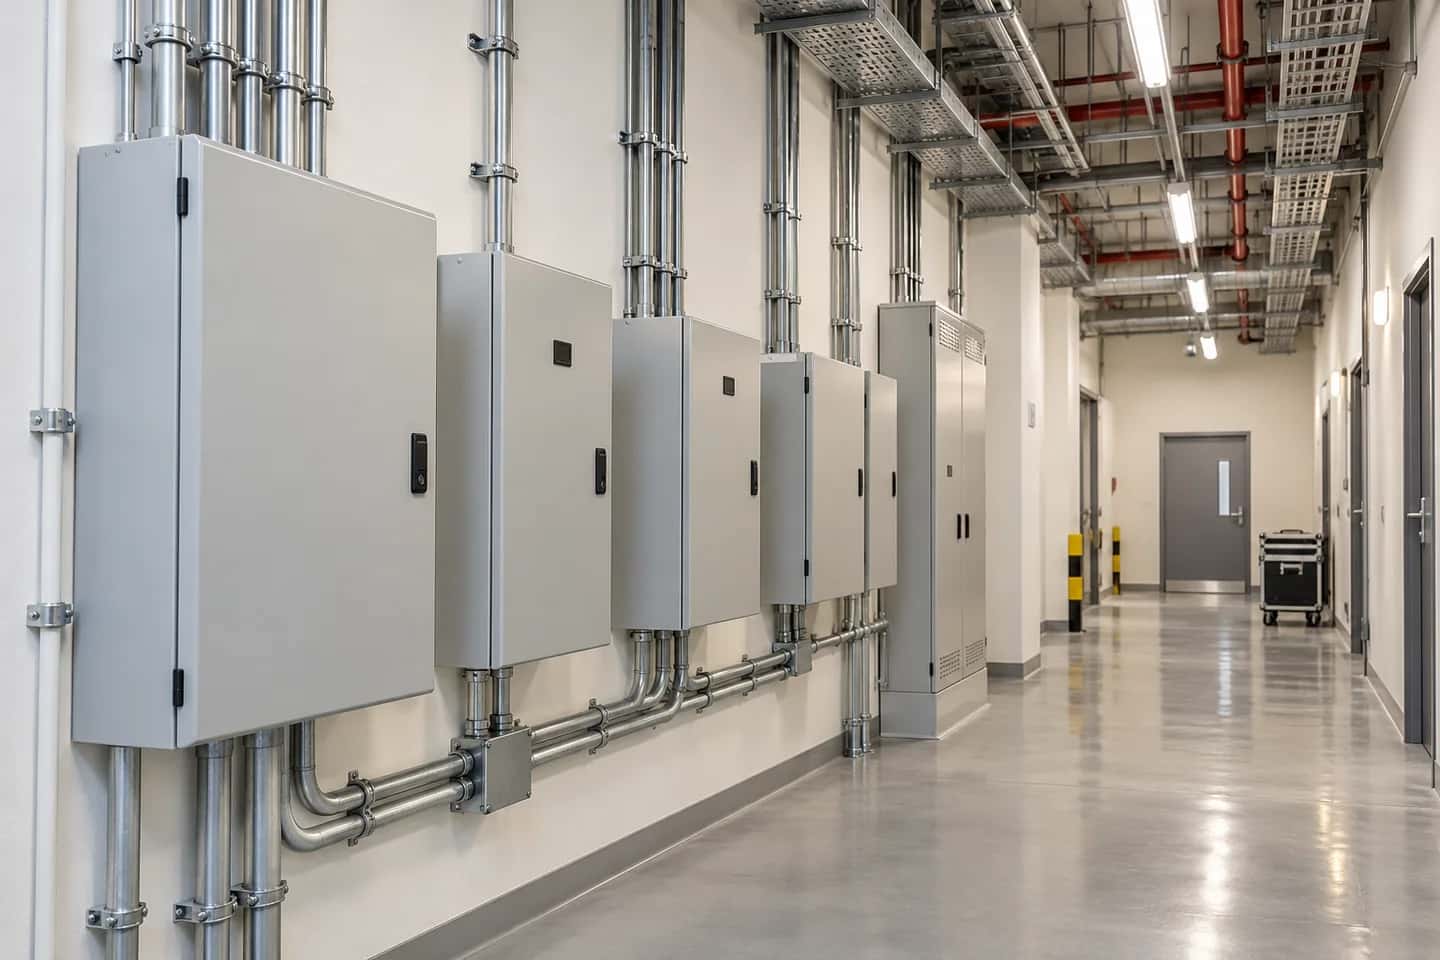
Hero image: illustrative editorial illustration; not a photograph of a completed Fixpoint project.
Next step
If you need professional help, request a quote with photos and access notes.